Mercado Pago MCP Server
The Model Context Protocol (MCP) is an open protocol that standardizes the connection of artificial intelligence (AI) models with different data sources and tools. In this context, Mercado Pago's MCP Server offers tools so that developers can easily interact with our API using natural language, which simplifies tasks and product integration.
Prerequisites
Before you start using the server, make sure you have your environment ready:
| Requirement | Description |
| NPM | You must have NPM package version 6 or higher installed to connect to the server. |
| NodeJS | You also need to have NodeJS 20 or higher installed. |
| Client | To connect to Mercado Pago's MCP Server, you need to choose a client from which to interact with the assistant. The solution is available for the main AI agents: Cursor, Windsurf, Cline, Claude Desktop and ChatGPT. |
| Credentials | Credentials are a set of unique access keys linked to your application that allows you to identify an integration in your account. Check the documentation for more information. |
Connect to MCP Server
To connect to Mercado Pago's MCP Server, you first need to establish a remote connection with the client that best suits your integration. Check the step-by-step guide below according to the client type.
Open the IDE and look for the JSON file related to MCP servers. Then, complete the authorization fields with your Access TokenAccess Token.
{
"mcpServers": {
"mercadopago-mcp-server": {
"command": "npx",
"args": [
"-y",
"mcp-remote",
"https://mcp.mercadopago.com/mcp",
"--header",
"Authorization:${AUTH_HEADER}"
],
"env": {
"AUTH_HEADER": "Bearer <ACCESS_TOKEN>"
}
}
}
}
Open the mcp_config.json file in Windsurf and add the Mercado Pago server configuration. Check the Windsurf documentation for more information.
{
"mcpServers": {
"mercadopago-mcp-server": {
"command": "npx",
"args": [
"-y",
"mcp-remote",
"https://mcp.mercadopago.com/mcp",
"--header",
"Authorization:${AUTH_HEADER}"
],
"env": {
"AUTH_HEADER": "Bearer <ACCESS_TOKEN>"
}
}
}
}
Open the cline_mcp_settings.json file and add the Mercado Pago server configuration. Visit the Cline Desktop documentation for more information.
{
"mcpServers": {
"mercadopago-mcp-server": {
"command": "npx",
"args": [
"-y",
"mcp-remote",
"https://mcp.mercadopago.com/mcp",
"--header",
"Authorization:${AUTH_HEADER}"
],
"env": {
"AUTH_HEADER": "Bearer <ACCESS_TOKEN>"
}
}
}
}
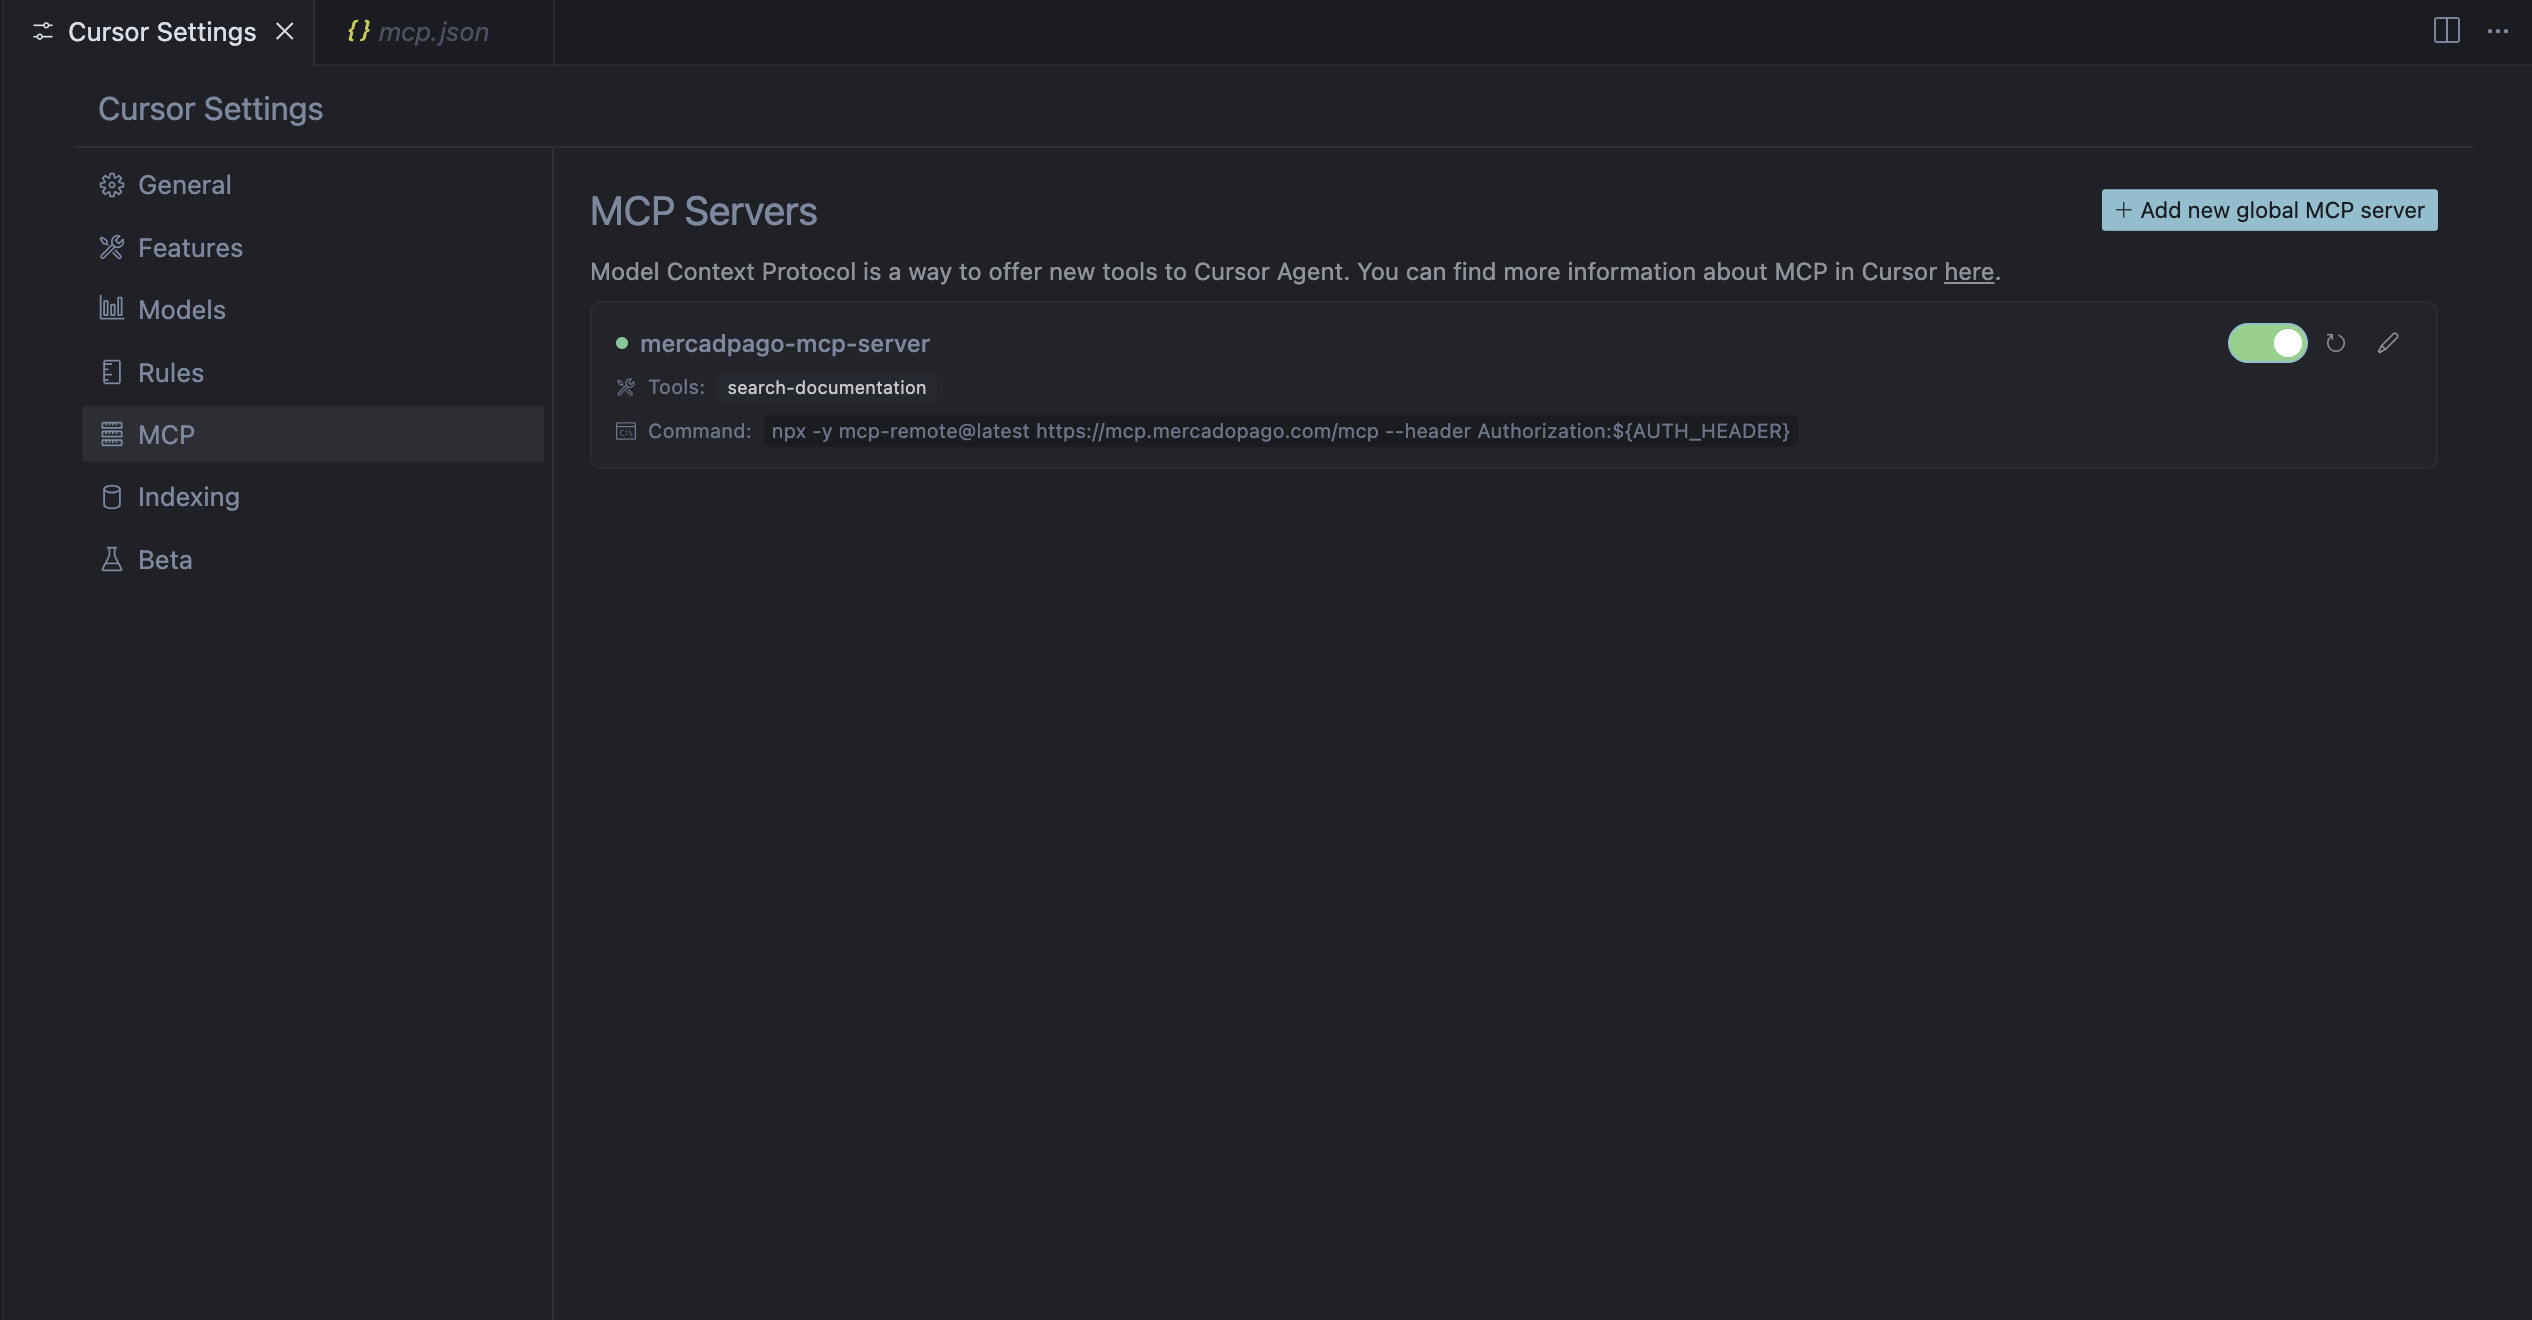
After completing these steps, Mercado Pago's MCP Server will be ready to use. To verify if the integration was successful, access your IDE client settings and confirm that the MCP is configured as available, as shown in the example below.
This is an example of how the installed MCP Server should appear in your IDE:

Test the integration
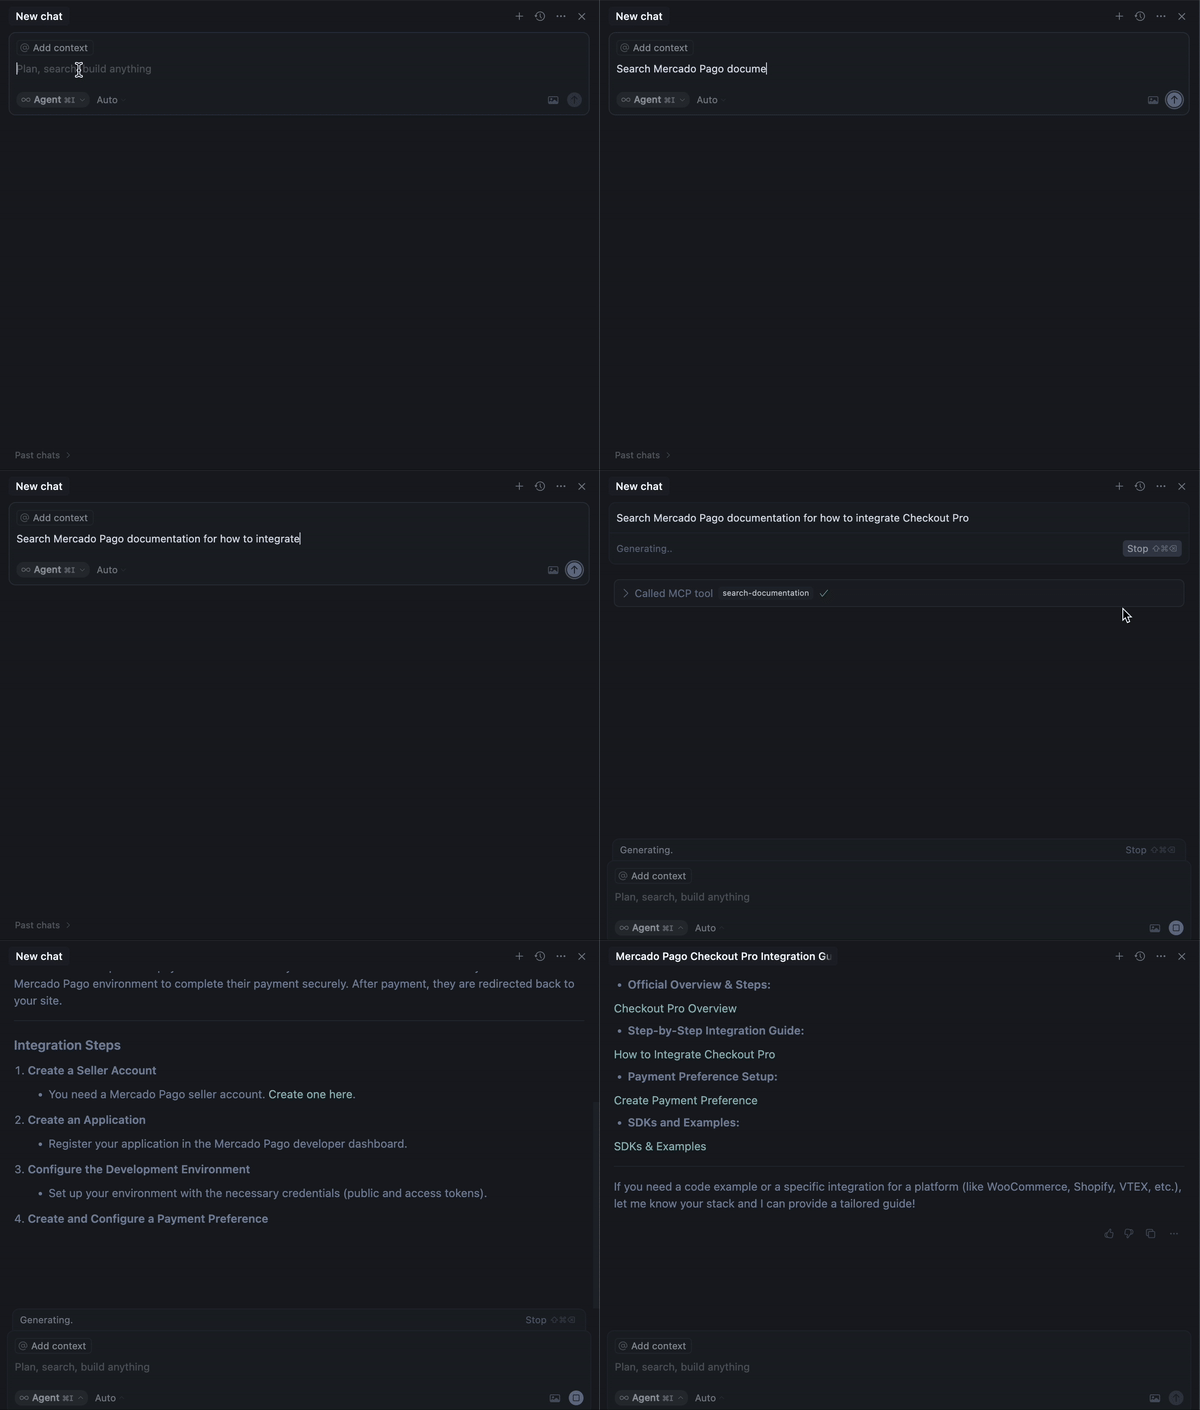
To test the integration, you need to make a query with the assistant using any of the available tools.
For example, if you want to test the tool search_documentation, you just need to execute the prompt indicating what information you want to search for:
Search in Mercado Pago's documentation how to integrate Checkout Pro.

Available MCP server tools
Mercado Pago offers the following list of tools.
| Tool | Description | Parameters | Suggested prompt |
search_documentation | Performs code or text searches in Mercado Pago Developers documentation. | query (string, required): Term to search. language (string, required, enum): Language in which the search is performed. Allowed values are 'es' (español), 'en' (english), 'pt' (português). | Search in Mercado Pago documentation '{query}' |
Use cases
MCP Server ensures that common developer activities are optimized easily and quickly. Below, learn about the main use cases to implement in your integration.
Search documentation through your IDE
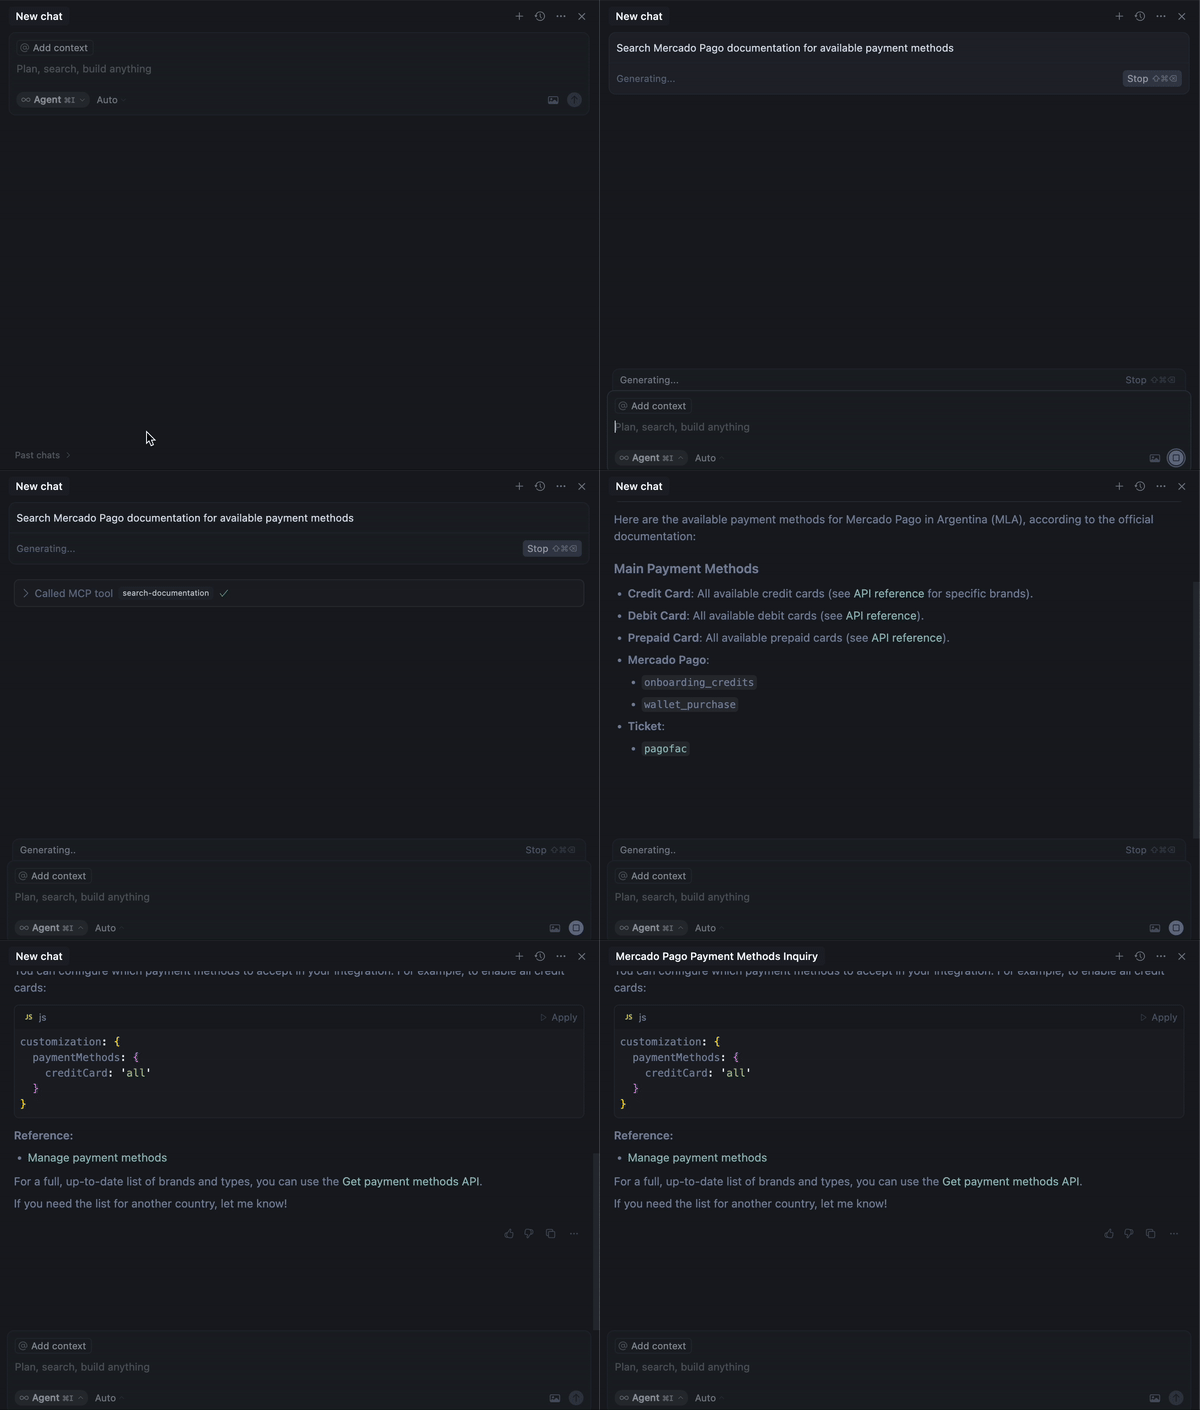
The search_documentation tool allows you to search for information directly in Mercado Pago's official documentation.
When using the assistant and making a request in natural language, you can search for information in the documentation and access it according to each stage of development. For example, checking which payment methods are available in a specific country.

Generate code to integrate a Mercado Pago checkout
In addition to consulting the documentation, the tool search_documentation also allows you to generate code for your project.
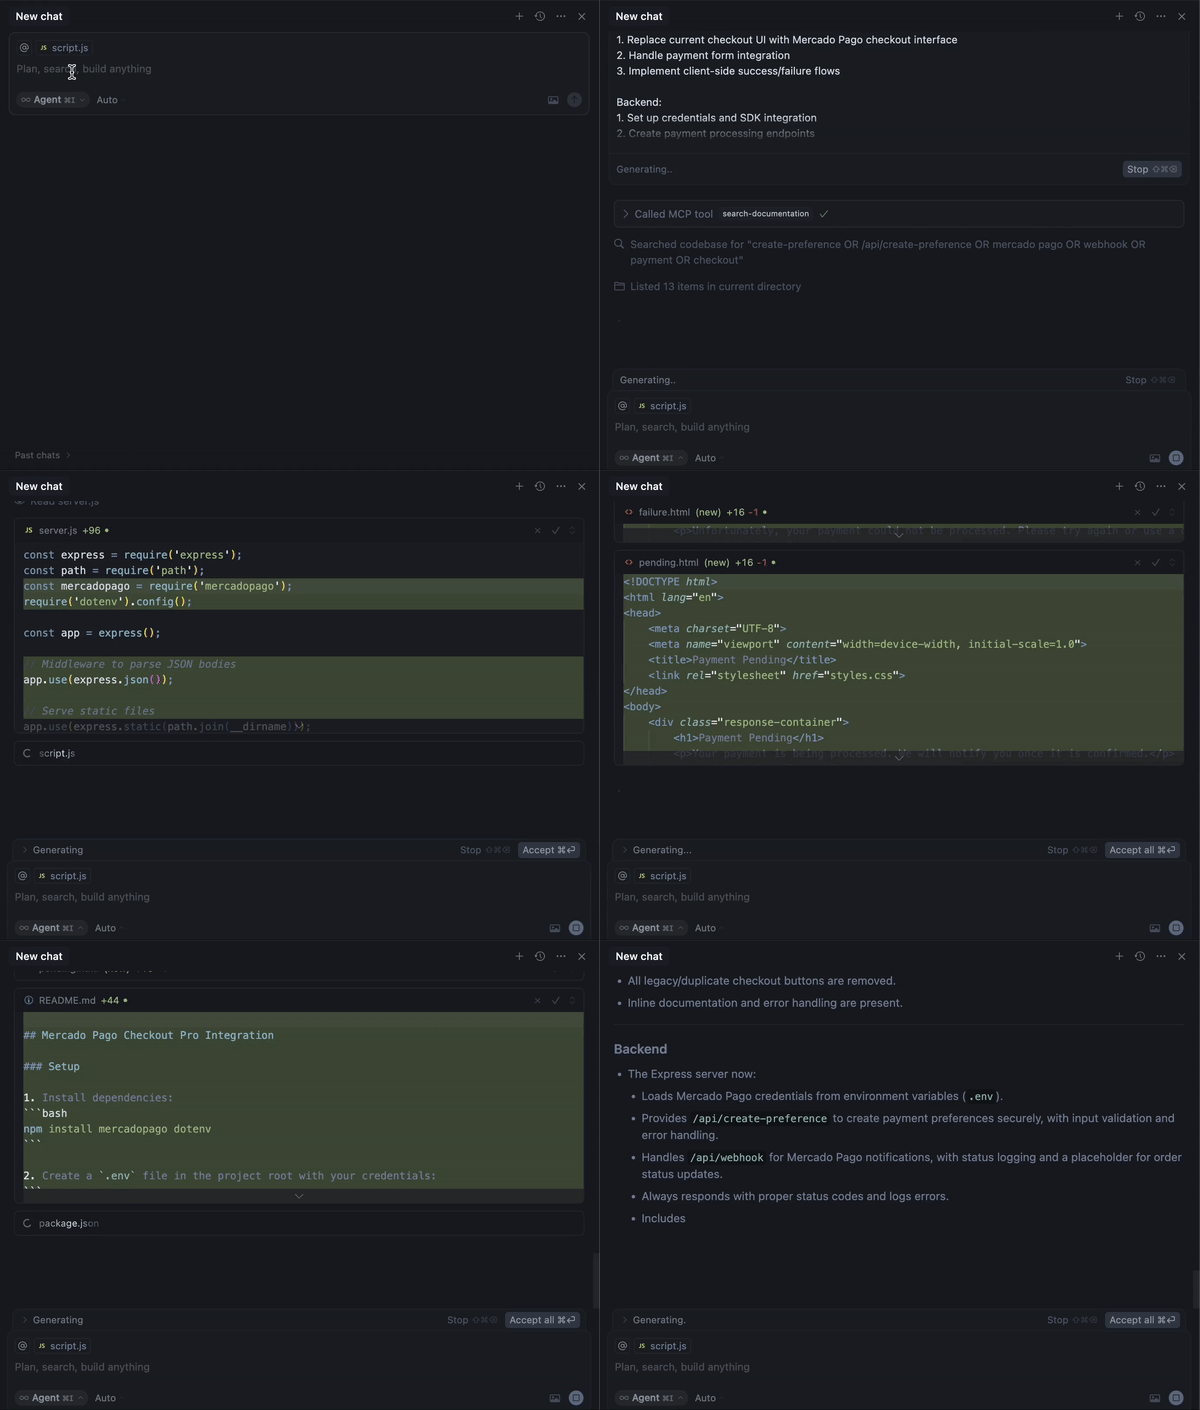
You can request this recommendation from the assistant by asking it to review the documentation of the product you want to integrate and indicate the necessary steps to perform this integration. The MCP Server provides the necessary context, through code and documentation, so that the IDE can make the required modifications to your project.
For this use case, let's consider a store that's already configured and only needs to integrate a checkout to start processing payments. In this context, a guidance prompt for integrating with Checkout Pro could be:
plain
Implement Checkout Pro integration. Query the Mercado Pago MCP Server documentation for any implementation details or uncertainties. After reviewing existing application code, generate production-ready code as follows: Frontend: 1. Replace current checkout UI with Mercado Pago checkout interface; 2. Handle payment form integration; 3. Implement client-side success/failure flows. Backend: 1. Set up credentials and SDK integration in the most recent version; 2. Create payment processing endpoints; 3. Implement webhook handling with validations. Requirements: - Mercado Pago security best practices and validation; - Error handling with status codes; - Test cases for critical flows; - Inline documentation; - Verify all steps against Mercado Pago MCP Server documentation.
The result may vary depending on your project configuration, but as a general rule, the Mercado Pago MCP Server will suggest code modifications in the frontend and backend of your integration to create the checkout.

If you want to see more details of this practical example, check out our Medium article about the success case of integrating Checkout Pro in 30 minutes.
Open the .cursor/mcp.json file and add the Mercado Pago server configuration. Check the Cursor documentation for more information.